
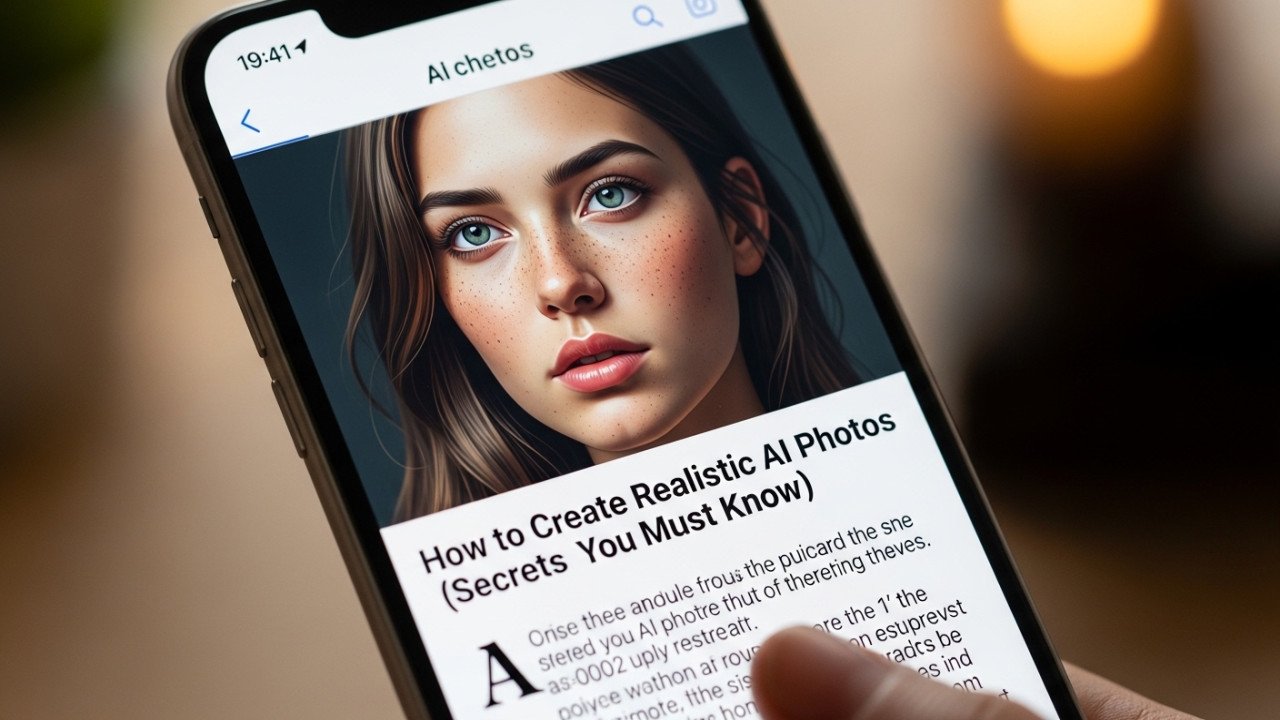
How to Create Realistic AI Photos (Secrets You Must Know)
How to Create Realistic AI Photos: Secrets You Must Know
Realistic AI photos do not come from “better prompts” alone. They usually come from a combination of clear subjects, believable lighting, camera language, natural textures, environmental context, and iterative refinement across multiple generations.
This guide explains what makes AI images look real, how to use lens and lighting terms properly, how to fix images that still feel fake, and how to write prompts that produce more believable results on Imagartai.
What Makes AI Photos Look Real
The most convincing AI photos usually share the same core ingredients: natural lighting, accurate proportions, authentic textures, realistic perspective, and enough environmental context to make the scene feel lived-in. Good prompting guides also recommend describing the light source, light direction, color temperature, depth of field, and camera angle instead of relying on vague phrases like “ultra realistic” alone.
Camera language matters because it gives the model a visual framework that feels closer to real photography. Terms like “50mm lens,” “85mm portrait lens,” “macro lens,” and “shallow depth of field” help shape focus, compression, background blur, and subject separation in ways viewers already associate with real cameras. Realism also improves when you describe imperfections such as fabric wrinkles, uneven lighting, faint grain, natural skin texture, and small scene details like crumbs, reflections, or worn surfaces.
Camera and lighting secrets
If you want realistic portraits, start with camera and lighting terms before adding style flourishes. Prompt references for photorealistic AI images often use structures like “85mm portrait lens,” “sharp eyes,” “soft bokeh,” “large softbox key light at 45 degrees,” or “soft natural light from a window” because they create believable facial modeling and depth.
Useful camera terms:
35mm lens: wider, more environmental, good for lifestyle scenes.
50mm lens: natural-looking perspective for portraits and daily scenes.
85mm lens: flattering portrait compression with strong background separation.
Macro lens: ideal for product close-ups, textures, and tiny details.
Useful lighting terms:
Soft window light: natural portraits and interiors.
Golden hour: warm, flattering outdoor realism.
Rembrandt lighting: more sculpted, dramatic portrait shadows.
High-key lighting: bright commercial and beauty shots.
Low-key lighting: moody cinematic portraits with deeper contrast.
Depth of field is another realism trigger because real cameras do not keep everything equally sharp. Prompt guides specifically recommend phrases like “shallow depth of field with soft bokeh” when you want natural separation between subject and background. At the same time, realism often improves when you avoid over-smoothing, overly perfect skin, and unnaturally clean surfaces, since real photos usually contain subtle texture, micro-contrast, and small irregularities.
Realistic prompt examples
Here are ready-to-use prompt examples built around the realism principles above.
1. Realistic portrait
Prompt:
Photorealistic portrait of a young man in a modern home studio, friendly, confident expression, 85mm portrait lens, shallow depth of field, sharp eyes, soft bokeh, large softbox key light at 45 degrees, subtle fill light, natural skin texture, realistic hair detail, neutral blurred background
Why it works:
This prompt combines flattering portrait lens language, controlled studio lighting, eye sharpness, and natural skin detail, which are all common realism cues in current prompt references.
2. Lifestyle street photo
Prompt:
A woman crossing a rainy city street at dusk, 35mm lens, reflective pavement, soft neon spill, realistic motion in coat and hair, natural skin texture, documentary-style photography, slightly cool color temperature, crisp subject focus
Why it works:
Rain reflections, environmental lighting, a wider lens, and believable motion cues make the scene feel captured rather than generated.
3. Cozy interior photo
Prompt:
A small kitchen just after sunrise, warm sunlight entering from the left window, long shadows across a wooden table, coffee rings on the surface, wrinkled linen fabric, 35mm lens, natural contrast, slightly warm color temperature, faint grain in shadow areas
Why it works:
This kind of prompt works because it adds lived-in imperfections, directional light, and physical surface details that make interiors feel real.
4. Product photography
Prompt:
Luxury perfume bottle on matte black stone, macro product photography, controlled studio lighting, subtle golden edge reflections, sharp glass detail, realistic shadows, clean composition, premium commercial look
Why it works:
Realistic product images often need material detail, controlled reflections, and specific lighting direction more than decorative adjectives.
5. Night apartment realism
Prompt:
A small apartment just after sunset, warm lamps switched on unevenly, cool blue window light leaking into the room, visible grain, realistic shadows, slight color imbalance, candid interior photography, 50mm lens
Why it works:
Scenes become more believable when the prompt allows imperfect mixed lighting instead of forcing every tone to look polished and even.
Fake vs realistic
A fake-looking AI image often gives itself away through overly smooth skin, impossible shadows, plastic textures, strange eye detail, cluttered composition, or backgrounds that feel disconnected from the subject. Realistic prompting guides repeatedly stress natural textures, accurate proportions, believable light behavior, and environmental specificity because those are the details viewers subconsciously expect from real photography.
Here is a simple way to spot the difference:
| Fake-looking image | Realistic-looking image |
|---|---|
| Skin is too smooth and waxy. | Skin keeps pores, subtle texture, and natural tonal variation. |
| Lighting feels flat or impossible. | Light has a source, direction, softness level, and believable shadow falloff. |
| Everything is equally sharp. | Focus behaves like a real lens, with subject priority and background separation. |
| Surfaces look perfect and sterile. | Small imperfections like wrinkles, grain, crumbs, wear, or uneven reflections add realism. |
| Colors look over-processed. | Color temperature feels natural, even when stylized. |
A useful before-and-after mindset is this: the “fake” version usually describes only the subject, while the realistic version describes the capture conditions. That means the upgraded prompt should mention lens choice, light source, focus behavior, texture, and subtle imperfections.
Before:
A realistic photo of a woman in a café
After:
A candid café portrait of a woman near a window, 50mm lens, soft natural side light, shallow depth of field, realistic skin texture, slight fabric wrinkles, ceramic cup reflections, warm wood tones, documentary-style photography
The second prompt works better because it describes how the image was “shot,” not just what is in it.
Expert techniques
The biggest upgrade for ultra-realistic AI photos is iterative refinement. Strong realism guides recommend generating several versions, refining the best one, then upscaling or enhancing the image so textures, edges, and shadows hold up under closer inspection. Upscaling matters because even a well-composed image can lose realism if fine details collapse when viewed at a larger size.
Use these expert tips to push realism further:
Add physical surface detail: wrinkles, dust, grain, skin texture, brushed metal, worn wood.
Specify the light source and direction: “morning sun from left window,” “softbox above and slightly right,” “cool blue backlight from street sign.”
Include color temperature: warm, neutral, cool, mixed tungsten and daylight.
Keep proportions grounded and avoid too many stylized modifiers in the same prompt.
Use one main realism style, then refine through multiple passes instead of cramming everything into one line.
Add slight imperfection instead of chasing sterile perfection, because real photos usually contain some asymmetry, texture, or tonal inconsistency.
A practical reusable template is:
Template:
Photorealistic [subject] in [setting], shot on a [lens] lens, [lighting setup], [depth of field], [color temperature], [surface or skin details], [composition], realistic shadows, authentic textures, subtle imperfections
Example:
Photorealistic portrait of a chef in a restaurant kitchen, shot on an 85mm lens, soft overhead key light with warm practical backlights, shallow depth of field, neutral-warm color balance, visible skin texture and cotton apron wrinkles, medium close-up, realistic shadows, authentic textures, subtle imperfections.
Use prompts like these on Imagartai, then compare versions by changing only one variable at a time: lens, lighting, composition, or texture detail. That approach makes it much easier to discover which realism cue is actually improving your image.


Comments (0)
No comments found